To get started with the challenges, you'll need to begin by registering an account on
CTFd
, which is where you will find challenges and be able to submit flags. You need to register with your
<zid>@ad.unsw.edu.au
email address and verify your account.
Once you have verified your email address, you can visit your Settings page. Here click on "mTLS Certificate" and then "Download". The password for this certificate file is your zID (the filename of the certificate, without the .p12).
This certificate allows the infrastructure to verify who you are, without you needing to do anything except the first time setup (see below).
Once you've completed the steps below, you should be able to visit https://whoami.quoccacorp.com in your preferred browser (and/or with BurpSuite enabled). Here, you'll be told if your mTLS certificate is working as expected. If it is, you'll get a flag that you can submit on CTFd.
Note: some ad-blockers (e.g. AdGuard I know does this) will filter HTTPS connections by installing a Certificate Authority, however this will prevent your browser from using your mTLS certificate. If you have followed the below steps for your browser/OS and still have issues getting the Whoami flag, try adding an exception for *.quoccacorp.com.
If you are still having issues, ask your tutor during your tutorial, or make a post on Ed.
Installing your mTLS Certificate
For people who would prefer a video tutorial, there is one for setting up Burp Suite available here . Start from the linked timestamp, as the download location (see above) has changed from last year.
Installing your certificate into Firefox on Windows/Linux
| 1 |
First go to your browser settings, and navigate to the "Privacy & Security section", and scroll down
to the section about certificates. Click on "View Certificates"

|
| 2 |
In the certificate manager, go to "Your Certificates" and click import.
When the file browser comes up, navigate to the zXXXXXXX.p12 file you downloaded from mtls, import it, and type in your zID as the password. 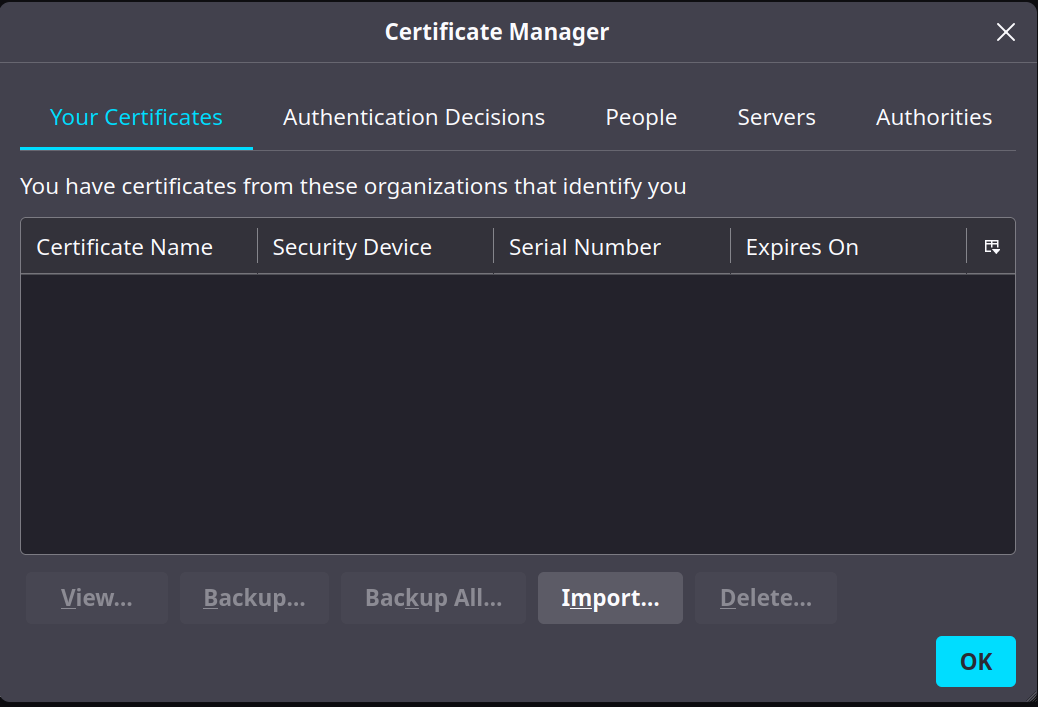
|
Installing your certificate into Chrome on Windows/Linux
| 1 |
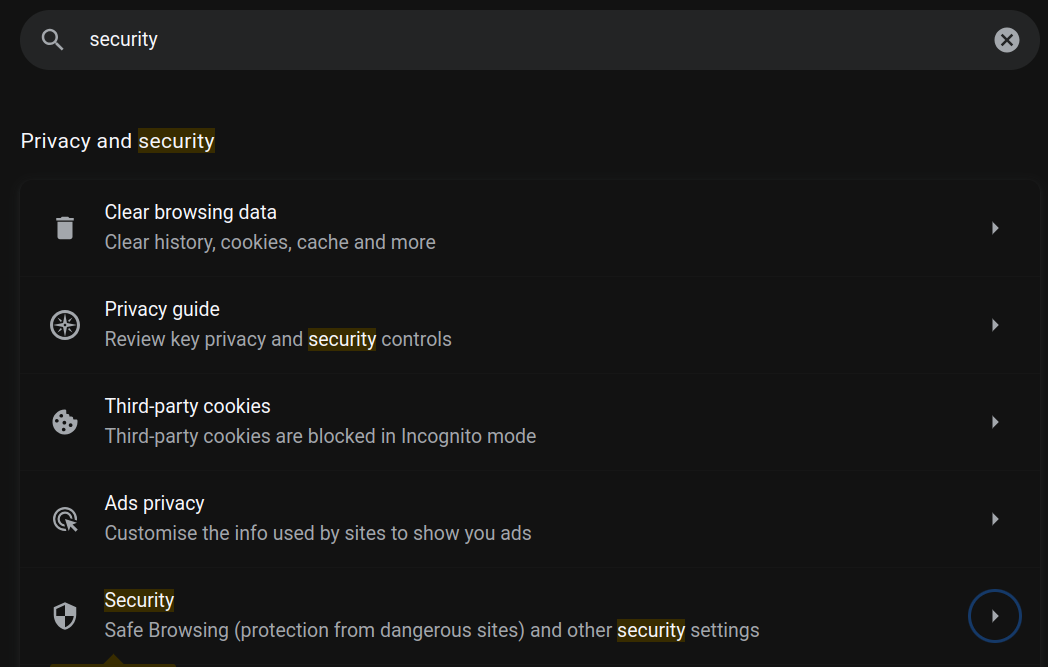
Navigate to your browser settings, search for "Security" and click on the security section (see image
below)
|
| 2 |
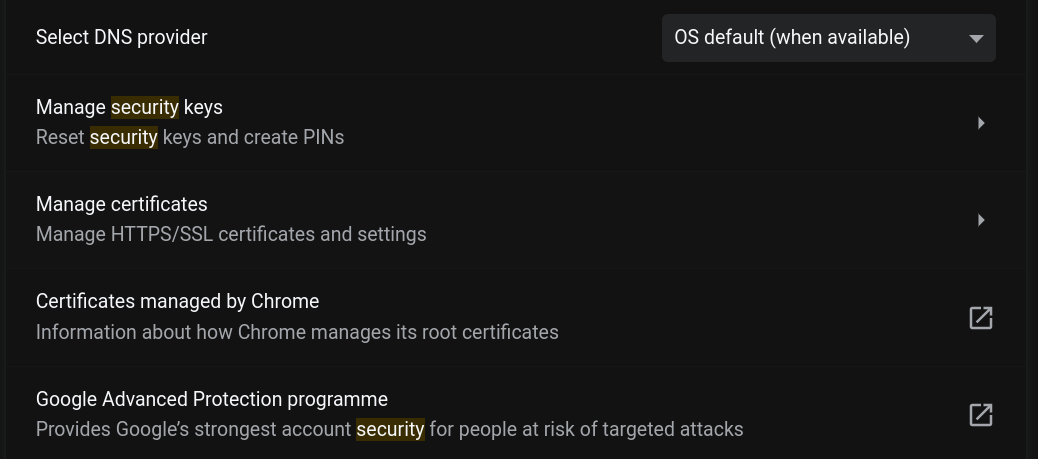
In the security section, scroll down to the section "manage certificates" and click it.
|
| 3 |
In the "manage certificates" section, go to "Your certificates" and click "import".
When the file browser comes up, navigate to the zXXXXXXX.p12 file you downloaded from mtls, import it, and type in your zID as the password. 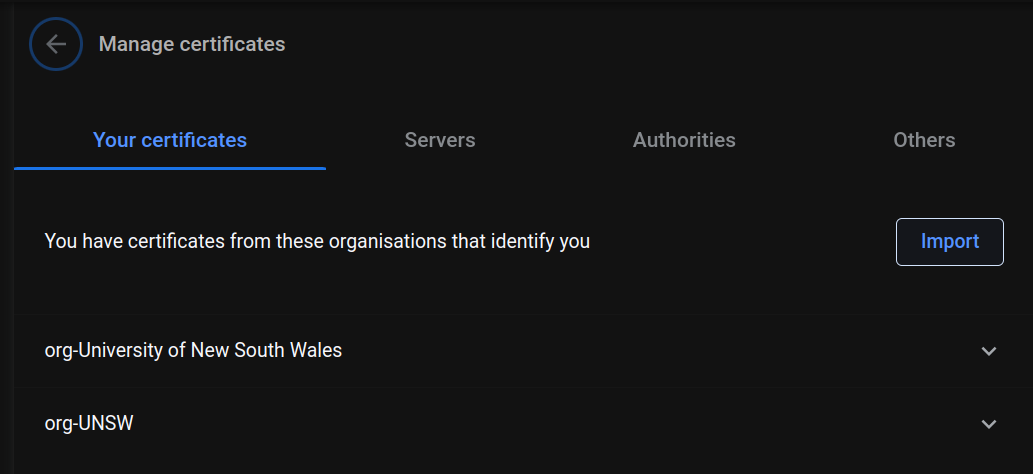
|
Installing your certificate into macOS Keychain (for all macOS browsers)
| 1 |
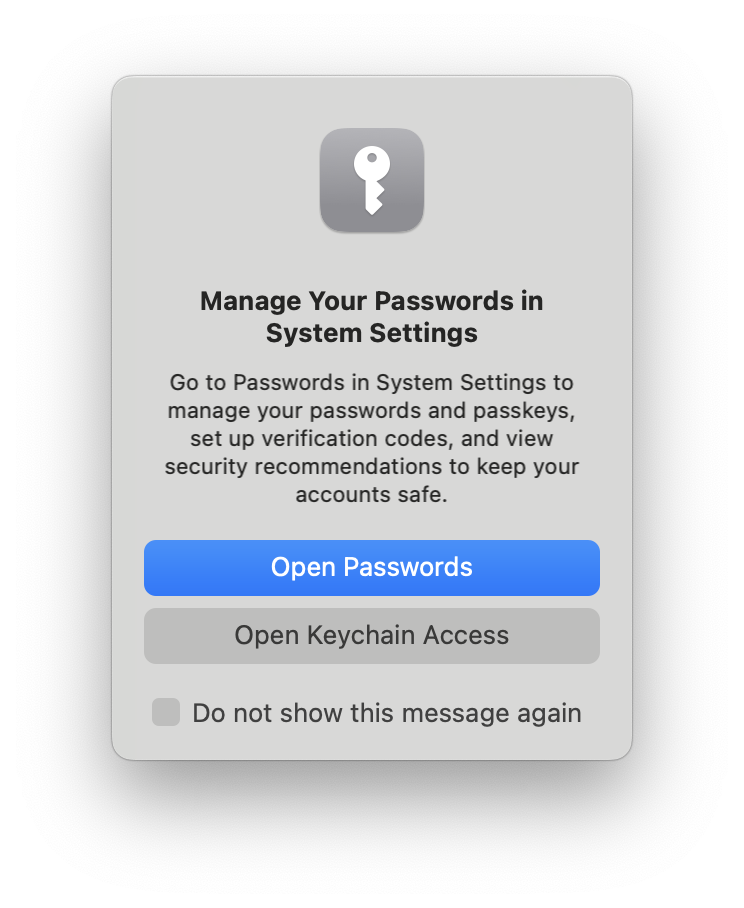
Double click on the downloaded .p12 file. Keychain Access will open, and you may see a popup saying to
manage passwords in System Settings. Click on "Open Keychain Access".
|
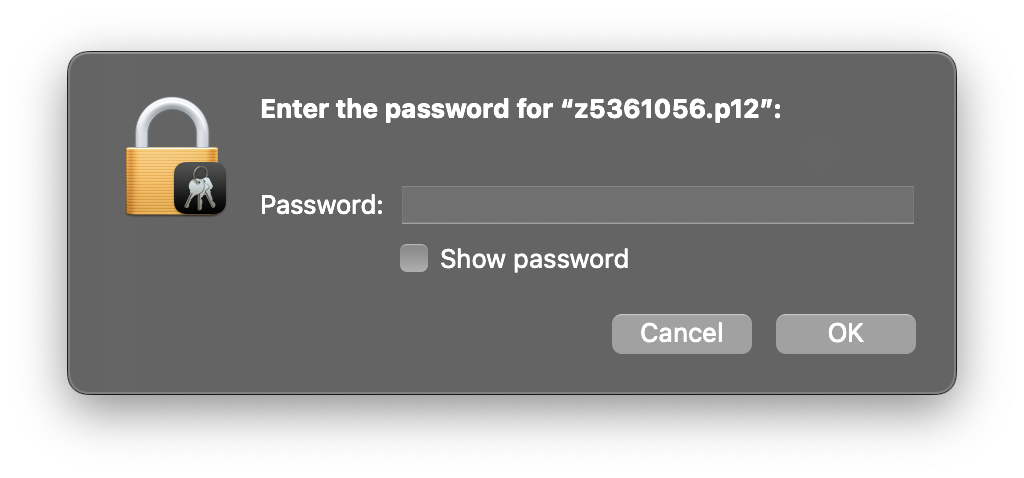
| 2 |
You will then have a password popup appear, where you should enter your zID as the password.
|
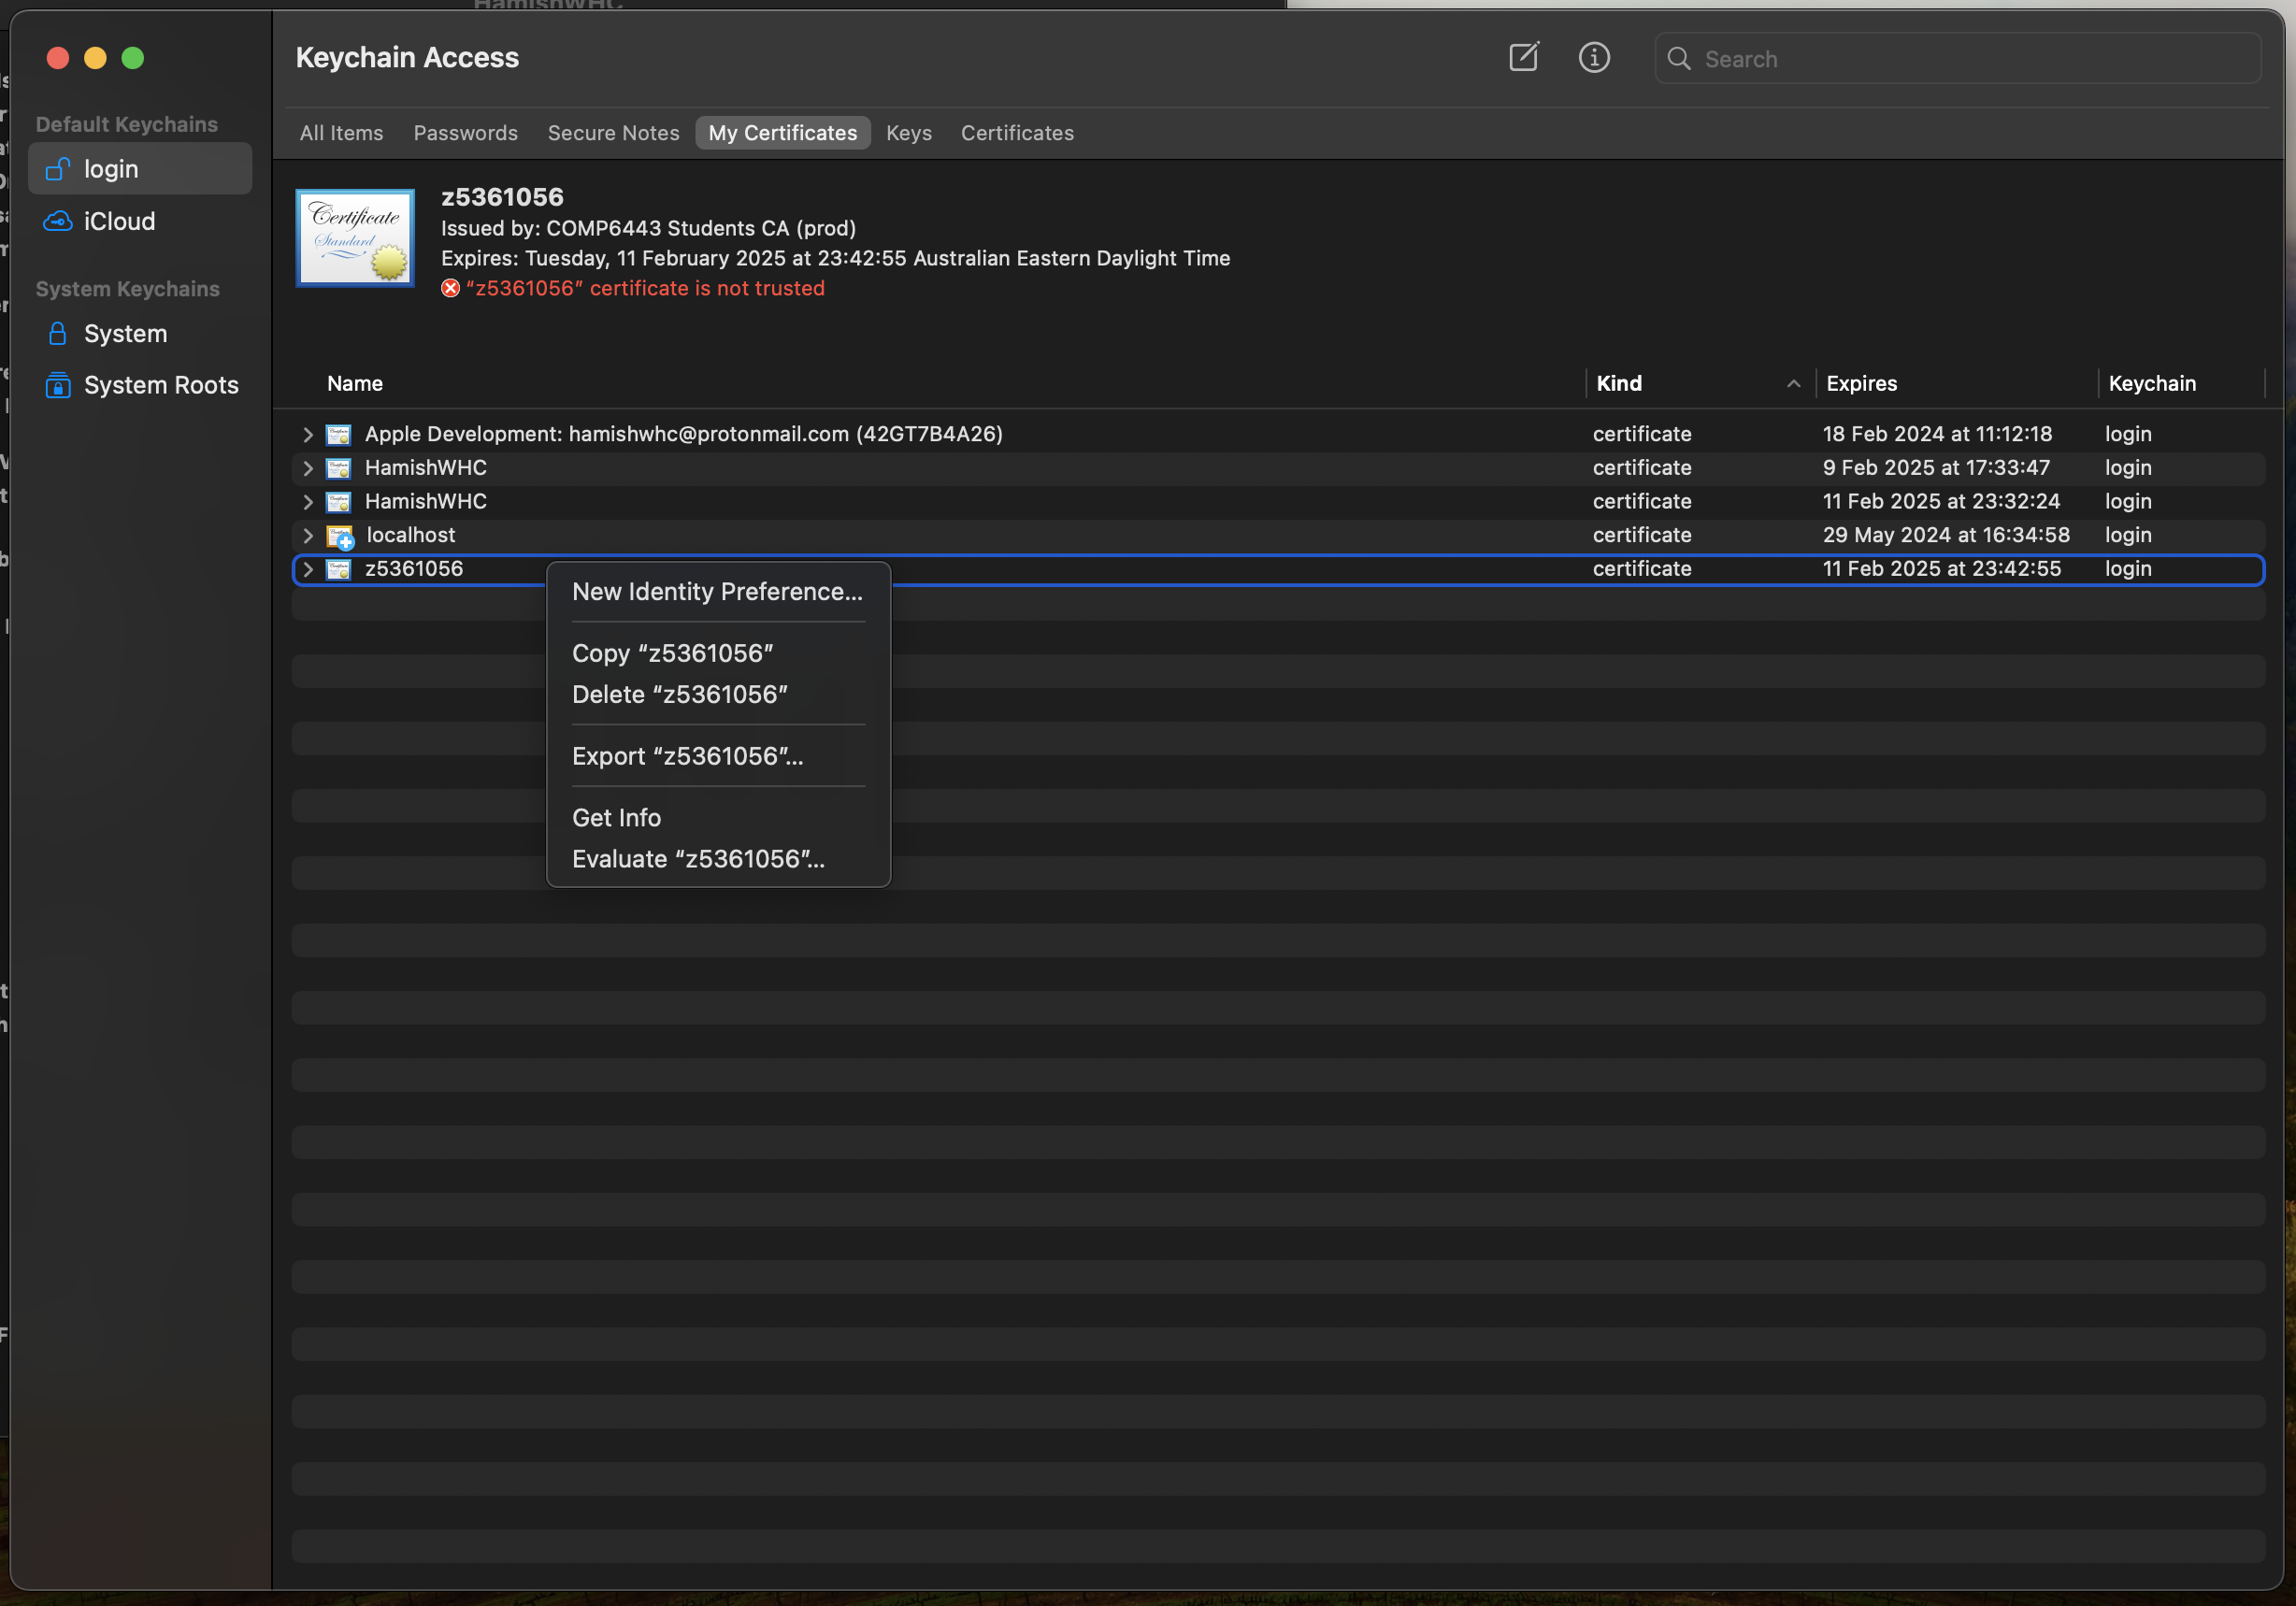
| 3 |
After this, a new certificate named with your zID will appear in Keychain Access under "My
Certificates". Right click on this certificate and select "New Identity Preference...".
|
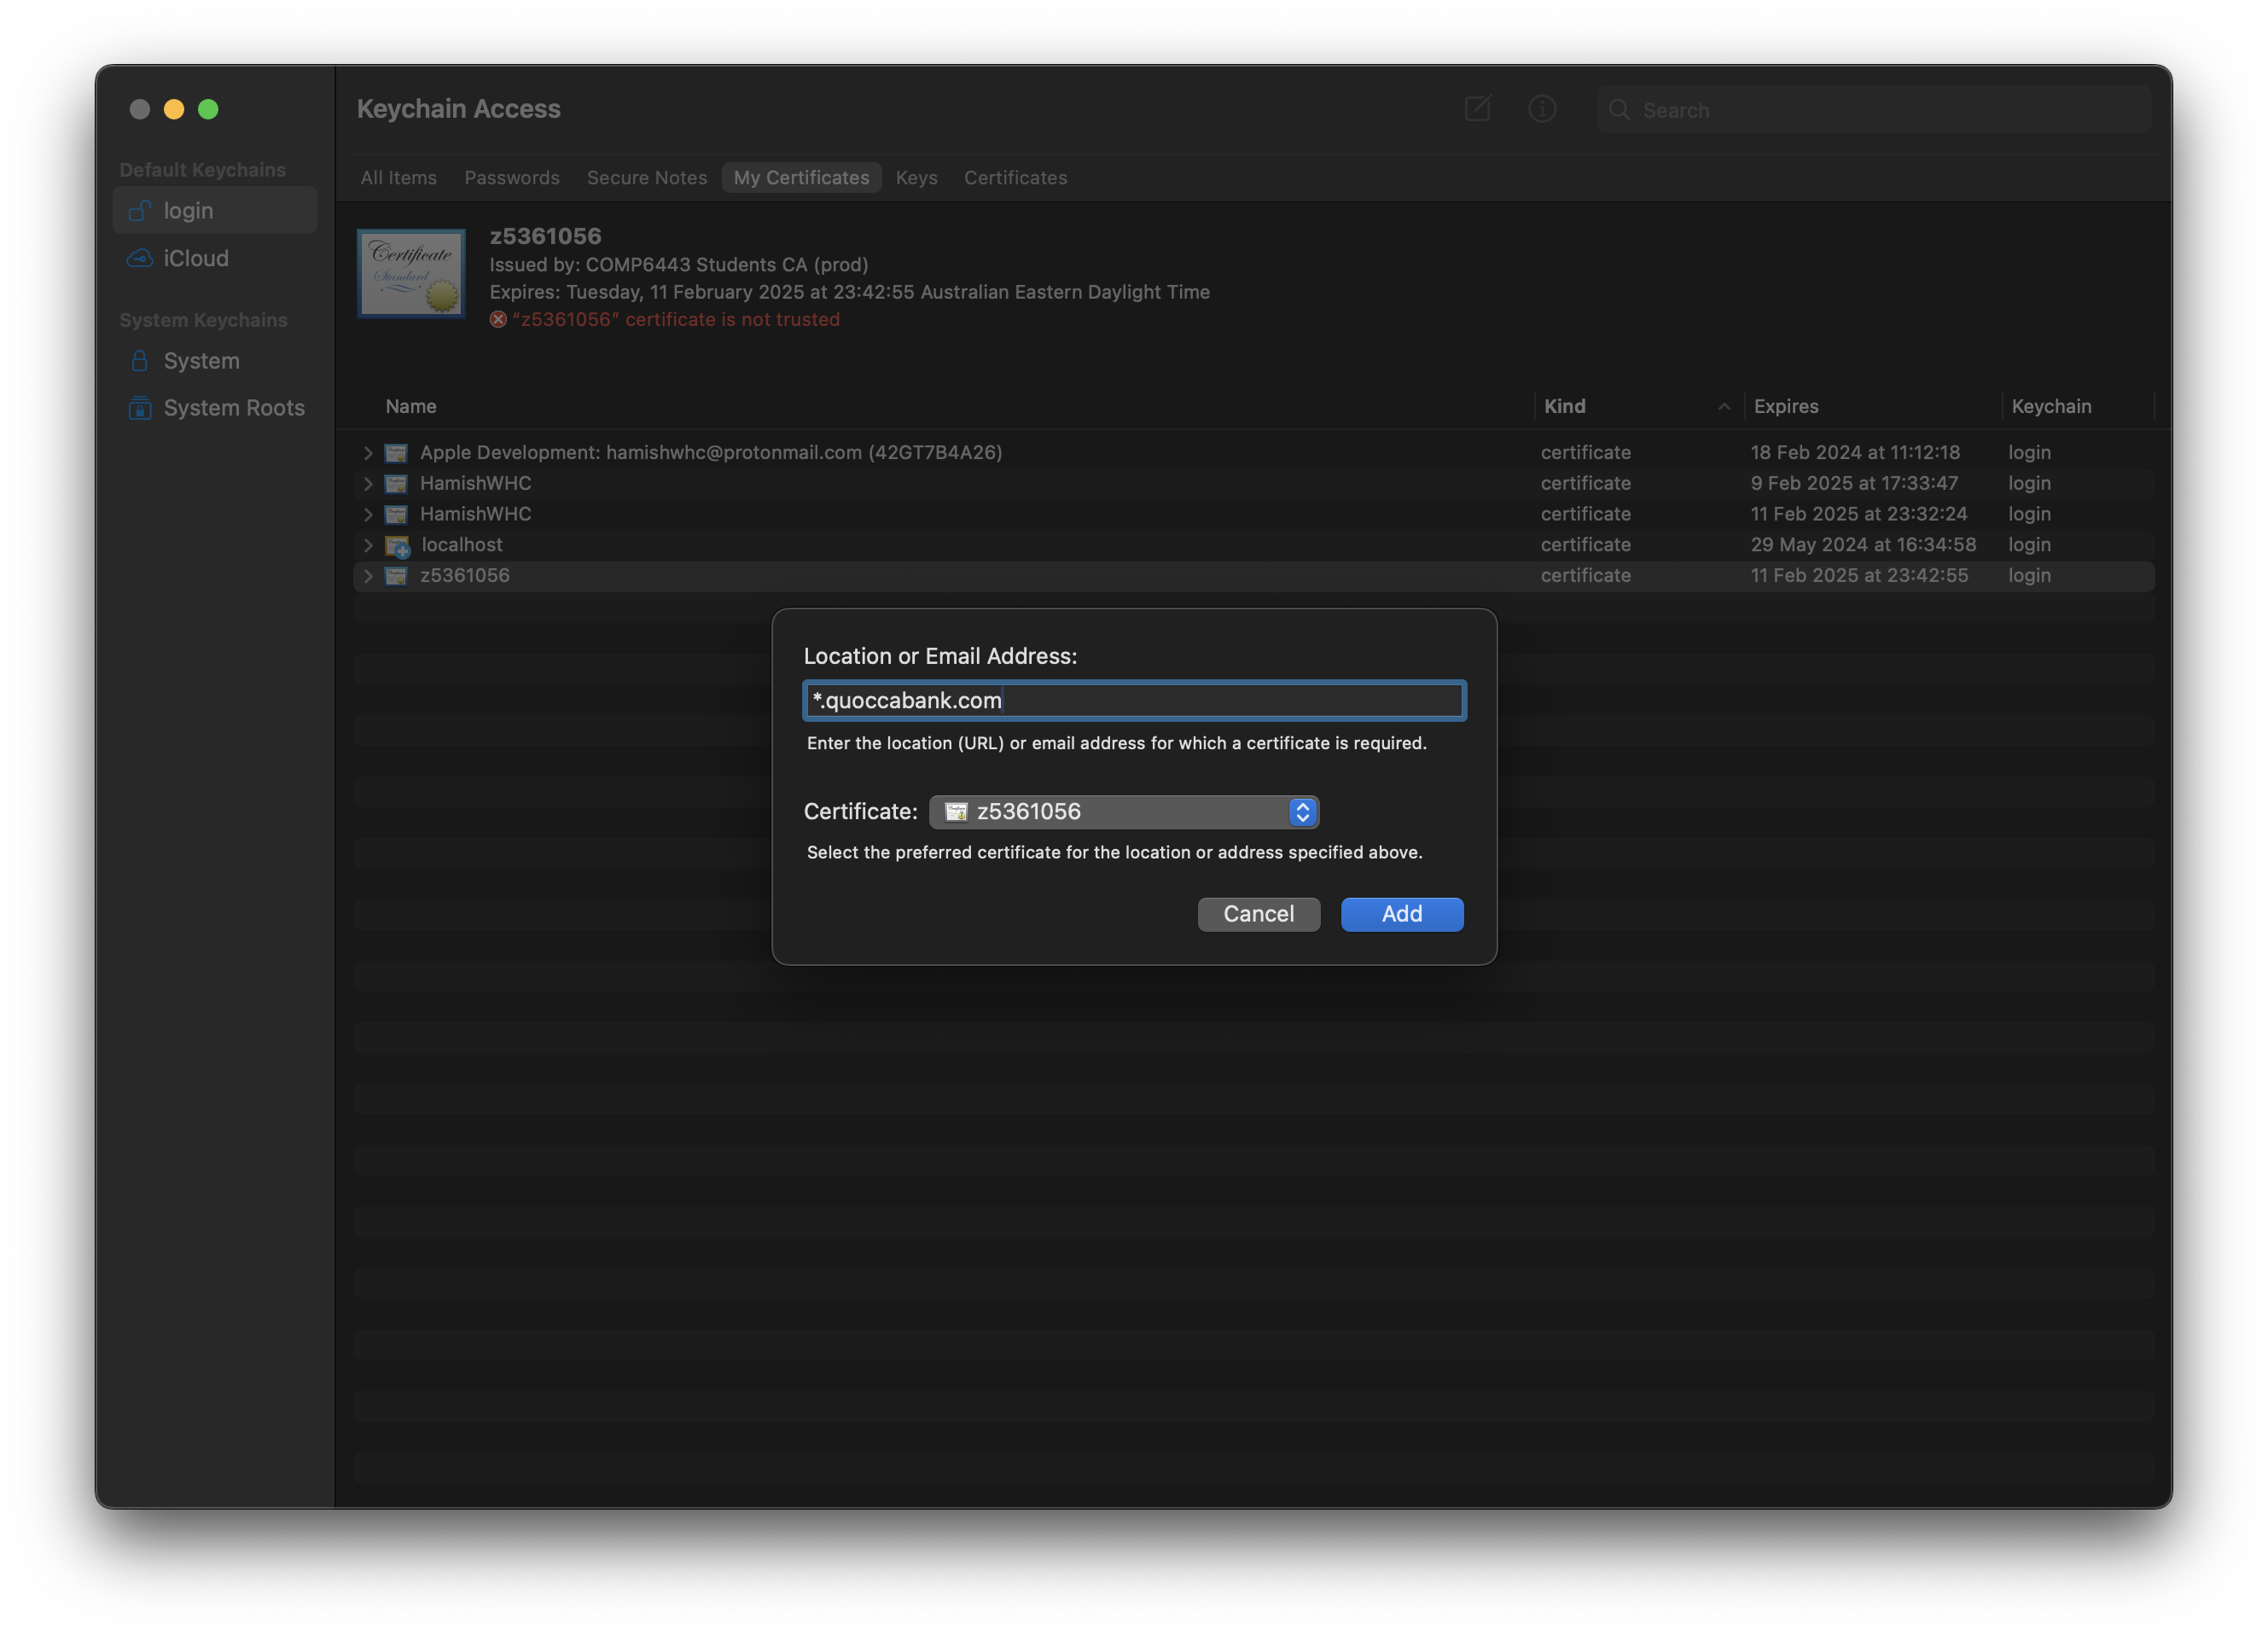
| 4 |
In the new popup, type "*.quoccacorp.com" into the "Location or Email Address" field and click Add.
|
Installing your mTLS Certificate into Burp Suite
Burp Suite is a proxy, it'll sit between your browser (or terminal), and QuoccaCorp, and can intercept any requests you make, or responses you receive from the server.
This will allow you to do cool stuff like intercepting requests and modifying them before they get sent (e.g. to modify headers), or capture a request to send multiple times (we'll get into this during the tutorials in week 1).
There is a guide by portswigger
here
on how to do this, or you can follow along the steps outlined below.
| 1 |
First, you will need to download Burp Suite, there's plenty of places you can download it from, if you have a package manager then go with that (for easier updates), otherwise you can download it from their website.
https://portswigger.net/burp/communitydownload (Windows, Mac & Linux) https://aur.archlinux.org/packages/burpsuite (Aur) https://formulae.brew.sh/cask/burp-suite (Brew) |
| 2 |
Once you've installed, there will be a bunch of screens you need to click accept on, go ahead and do that.
Every time you launch Burp Suite, in the bottom right, click 'next' > 'start burp' (since we use the free version). |
|
3
|
Now for set up, go to settings (top right).

Now go to 'User interface' > 'Display' > 'Theme' and change your theme to dark, and possibly change the font size to be bigger (by default its pretty small). 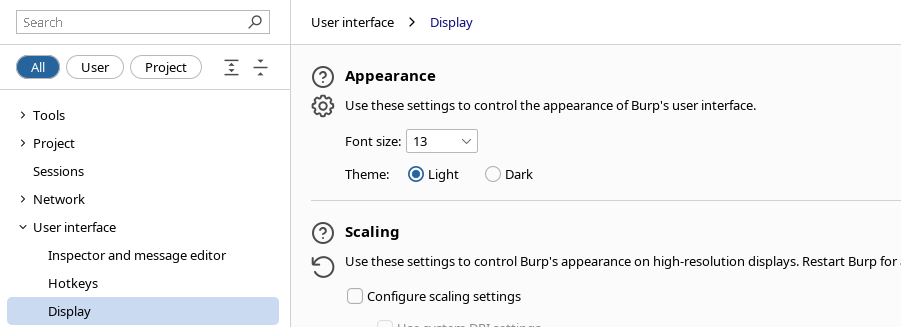
|
|
4
|
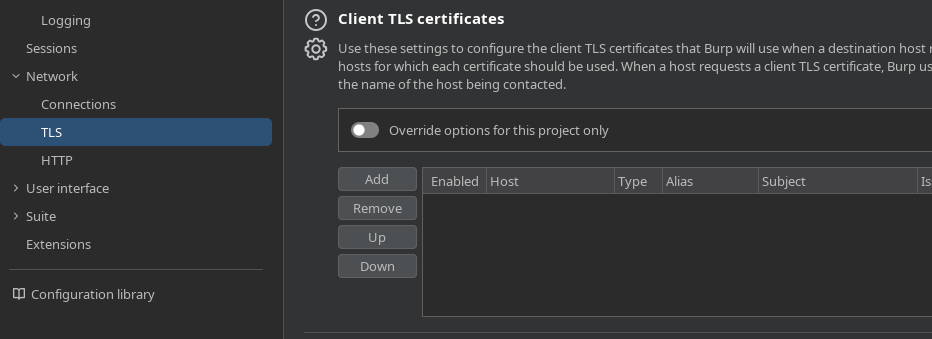
Next, we need to give Burp Suite our mtls certificate, similar to what we did to our browser. So go to 'Network' > 'TLS', scroll down to 'Client TLS certificates' and click 'Add'.
In the menu that pops up, type in *.quoccacorp.com into the 'Destination host', set 'Certificate type' to 'File (PKCS#12), and click next. 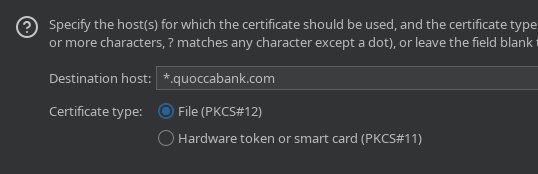
Now, for 'Certificate file', click 'select' and find the .p12 file that you downloaded from CTFd, and your zID as the password, then click 'next' > 'close'. 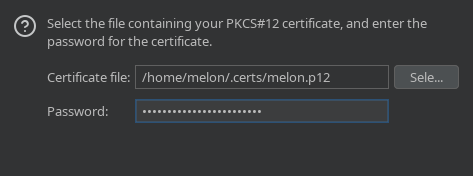
|
|
5
|
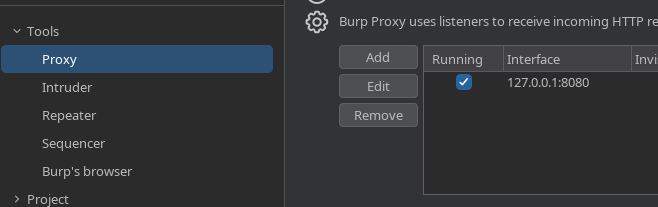
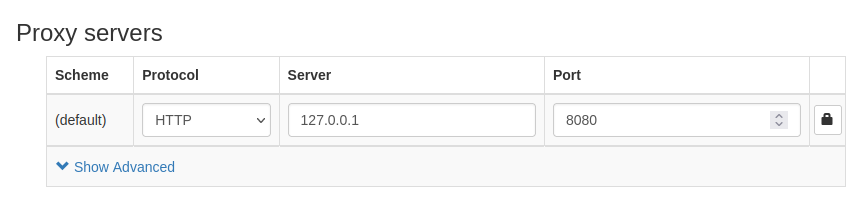
Now we'll set up the Proxy. Go to 'Tools' > 'Proxy', and make sure there is an interface on "127.0.0.1:8080", and that the running button is ticked (this just means Burp Suite will listen on 8080 for any requests it needs to proxy, we'll talk about this in tutorials).
|
|
6
|
Now we need to install Burp Suites certificate into our browser (so that it doesn't panic when it sees its sending all its traffic to localhost:8080). First we will export the certificate.
In that same section, click 'import/export CA certificate'. 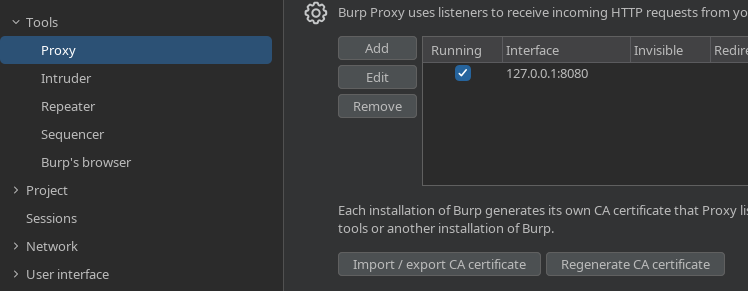
Now click on 'Export > 'Certificate in DER format', then click 'Next'. 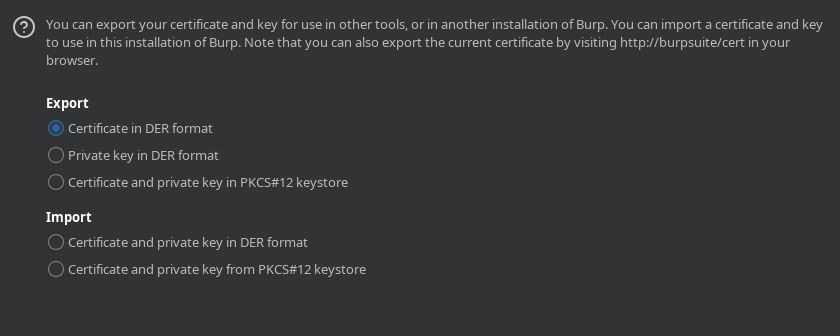
Finally, save the file (set it as <filename>.cert, the filename isn't super important, but make sure its saved as .cert). Click 'next' > 'close'. 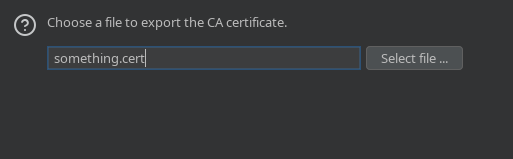
|
|
7
|
Next up, we need to import this certificate into our browser. Go to the certificate manager (or Keychain Access for Mac) for your browser (following the early steps from the previous sections).
This time, we want to import the certificate as an Authority, so click on Authorities (or equivalent), and click 'Import'. 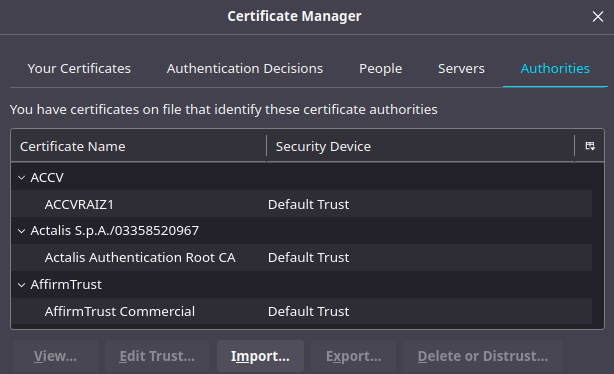
Find the certificate you just exported (<filename>.cert), select it, then click 'Trust this CA to identify websites' and 'Trust this CA to identify email users', and click 'ok'. 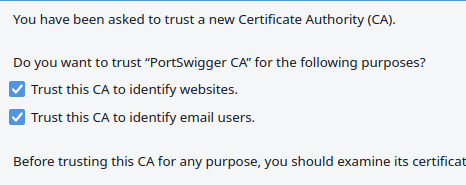
|
Using a Proxy Switcher
| 1 |
First up, you'll want to install a proxy switcher extension (we suggest Proxy Switch Omega, on
Firefox
or
Chrome
)
When you install it, it'll come up with a usage guide, you can click through it or skip it. |
| 2 |
Next up, we'll create the profiles. If you don't have the extension opened, go to the extensions area of your browser (top right) > 'Proxy SwitchOmega' > 'Options'
First, go to the bottom left, and click on 'New profile' 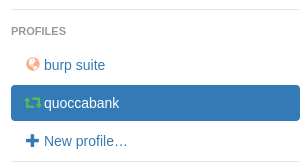
|
| 3 |
Next, click on 'Proxy Profile' and give the profile a name (e.g. burp suite), then click 'Create'

|
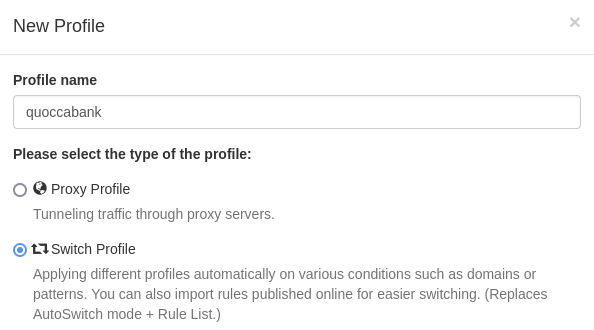
| 4 |
Now create another profile (step 2), click on 'Switch Profile' and give the profile a name (e.g. quoccacorp), then click 'Create'
Now, configure the switch, click 'Add condition', set the condition details to '*.quoccacorp.com', and the profile to your proxy from step 3 (e.g. mine is 'burp suite') 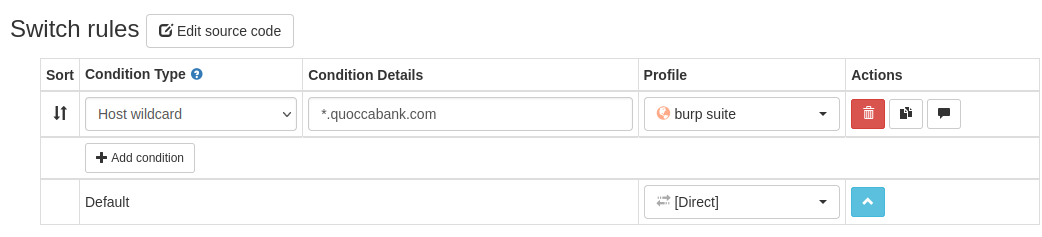
|
| 5 | IMPORTANT: make sure you go to the bottom left and click 'Apply changes' before you exit, or all the changes will disappear (and you'll have to do it again). |
NOTE: You can ask for assistance in any of the places mentioned in Course Discussion . Please also send us any feedback on this documentation.
Resource created Monday 13 January 2025, 01:18:36 PM, last modified Tuesday 30 September 2025, 11:30:59 AM.